After pouring the plaster roads (see previous post), I sanded them down then painted them with the Woodland Scenics Road System Concrete paint, so seal the plaster. I then used a custom mix of Valejo paints (white and grey) to give a nice light grey colour, which I then painted over the concrete. I then brushed black and grey weathering power over the roads to dirty them up and bring out some of the details on the sidewalks, which I had scored to replicate paving slabs. Pretty happy with how it all turned out. I filed down the plaster on the corners of th sidewalks to represent dropped curbs, to which I will add textured patterns to represent tactile surfaces for disabled pedestrians.
The left image below is before I weathered the road, but shows the intersection and the kerbs, The image on the right shows the sidewalk after scoring and weathering.

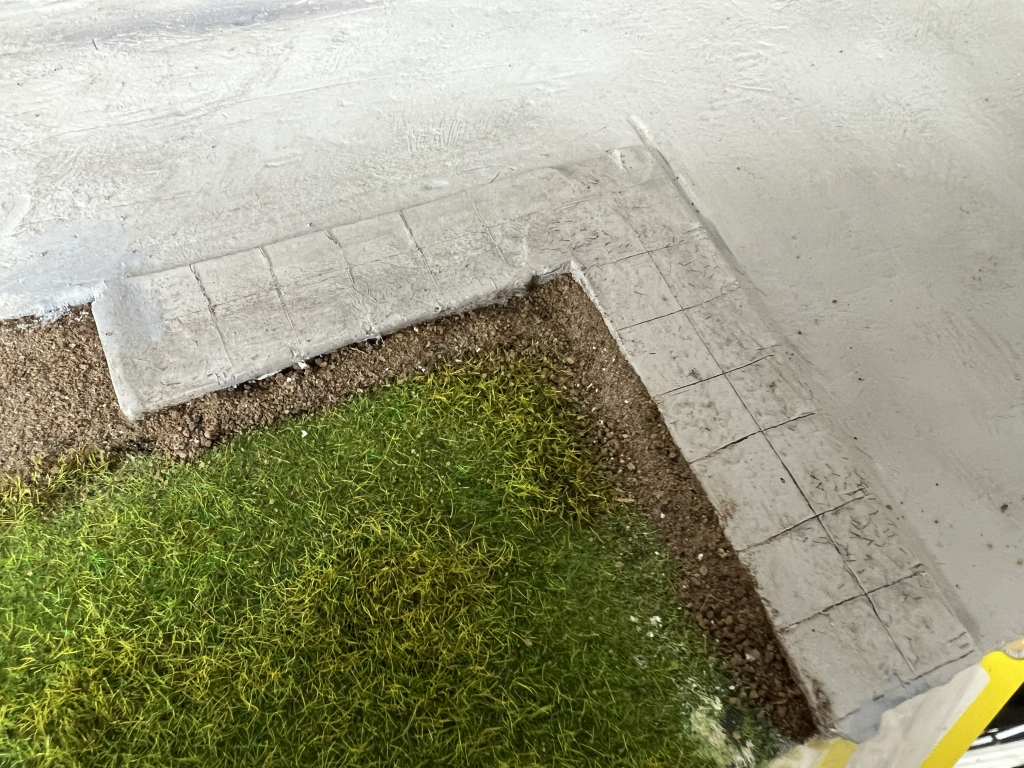
The next step was to add a few trees. I had a set of Woodland Scenics Realistic Trees Kit, while not as realistci as Super Trees, worked well enough for what I wanted them for. I painted and weathered the trunks and added the foilage, adding highlights using WS ground scatter material. I also added grass and weeds to the sidewalks using static grass and Noch grass clumps.
The image on the right shows the prototype photo I used for reference.


Here is the complete scene as it is for now, before I add road markings, street lights and power cables. I alao need to detail the interior of the underpass and start adding the graffiti to the retaining walls. I have started on the Photoshop work to prepare the photos I received of this graffiti from an amazing viewer of my YouTube channel who went out and took photos of all the graffiti for me!
